10 Tips for Taking Beautiful Photos in the Rain
“Rain, rain, go away, come again another day.” This line from an old nursery rhyme has popped into my head many times over the years growing up in the soggy Pacific Northwest. It came to mind again when I arrived at North Carolina’s Blue Ridge Parkway to photograph autumn and was greeted by dreary clouds dropping lots of moisture. I prefer the comfort of warm and dry weather and at first was bummed about the drizzle, but my fall photography shoot worked out better than I hoped – not just in spite of the rain but actually because of it.
This was a great reminder for me as I thought back to other photographic excursions in the past where rain initially dampened my mood but ended up enhancing the photographic possibilities. Now armed with a fresh appreciation for rainy days, in this article I will share ten tips for taking pictures in the rain that have helped me make the best of wet weather conditions and produce some of my most memorable photographs.
10 نصائح لالتقاط صور جميلة تحت المطر
“المطر، والمطر، والذهاب بعيدا، وتأتي مرة أخرى في يوم آخر.” هذا السطر من أغنية أطفال قديمة برز في ذهني عدة مرات على مر السنين خلال نشأتي في شمال غرب المحيط الهادئ الرطب. تبادر إلى ذهني مرة أخرى عندما وصلت إلى بلو ريدج باركواي في ولاية كارولينا الشمالية لتصوير فصل الخريف، واستقبلتني السحب الكئيبة التي أسقطت الكثير من الرطوبة. أفضّل الطقس الدافئ والجاف المريح، وقد شعرت في البداية بالانزعاج من الرذاذ، لكن جلسة التصوير الفوتوغرافي لفصل الخريف كانت أفضل مما كنت آمل – ليس فقط على الرغم من المطر ولكن في الواقع بسببه.
لقد كان هذا تذكيرًا رائعًا بالنسبة لي عندما فكرت في رحلات التصوير الفوتوغرافي الأخرى في الماضي حيث أدى المطر إلى إضعاف مزاجي في البداية ولكن انتهى به الأمر إلى تعزيز إمكانيات التصوير الفوتوغرافي. الآن مسلحًا بتقدير جديد للأيام الممطرة، سأشارك في هذا المقال عشر نصائح لالتقاط الصور تحت المطر والتي ساعدتني في تحقيق أفضل استفادة من الظروف الجوية الرطبة وإنتاج بعض الصور الفوتوغرافية التي لا تنسى.
- Use a Golf Umbrella
- Hand-Hold Using Image Stabilization
- Use a Raincoat Instead of Umbrella
- Photograph From Inside Your Vehicle
- Minimize Lens Changes in the Rain
- Small Accessories Can Make a Big Difference
- Use a Weather App to Track Storms
- Watch for Special, Photogenic Conditions
- Optimize Your Post-Processing
- Adopt an Attitude of Adventure
- Conclusion
10 نصائح لالتقاط صور جميلة تحت المطر
استخدم مظلة غولف مع تثبيت الصورة باستخدام مثبت الصورة،
خاتمة
I prefer a large golf style umbrella for taking pictures in the rain compared to typical, smaller umbrellas I have seen and tried. The golf umbrellas are large enough to keep all of you and your gear dry (including a larger telephoto lens), and they tend to be better constructed to withstand some wind.
In the past, I would use a clamp to attach the umbrella to my tripod, but I learned the hard way that any breeze sends vibrations in the open umbrella down into the tripod and results in a softening of the images at many common shutter speeds. There is also the risk that a big gust of wind can take your tripod and precious gear quickly to the ground – don’t ask me how I know :-).
I now prefer to slip the umbrella shaft inside my tightly zipped jacket and tuck the bottom into my belt or waistband, providing a stable hold for the umbrella without the potential problems of tripod attachment. Other times, I’ve found I can hold the umbrella with one hand while still operating my camera with the other, and on occasion I’ve had a partner with me on the shoot who serves as the umbrella holding assistant.
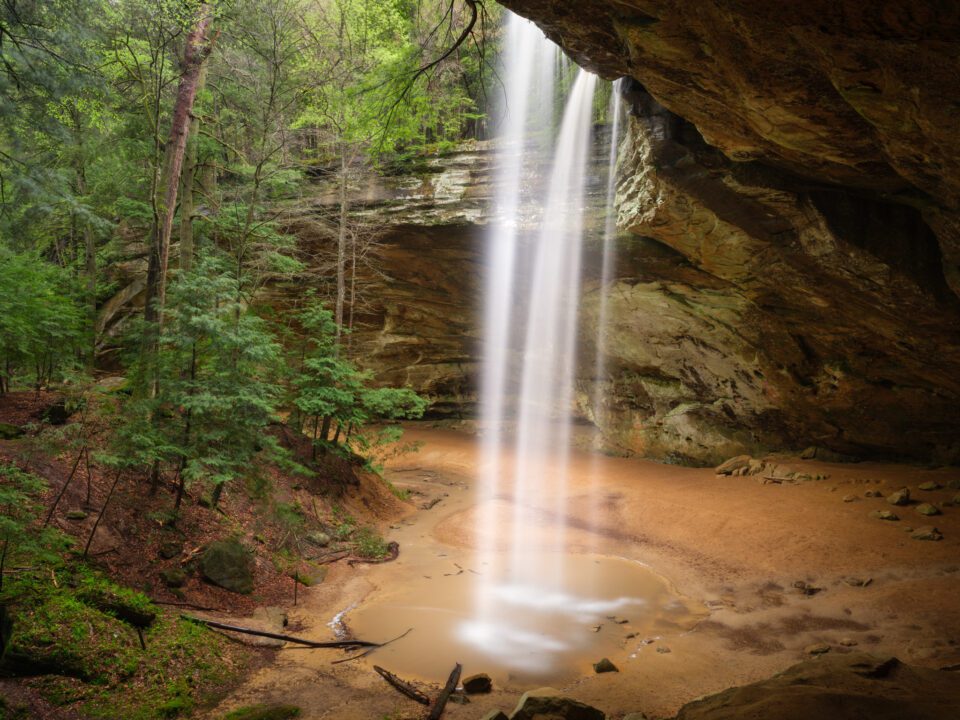
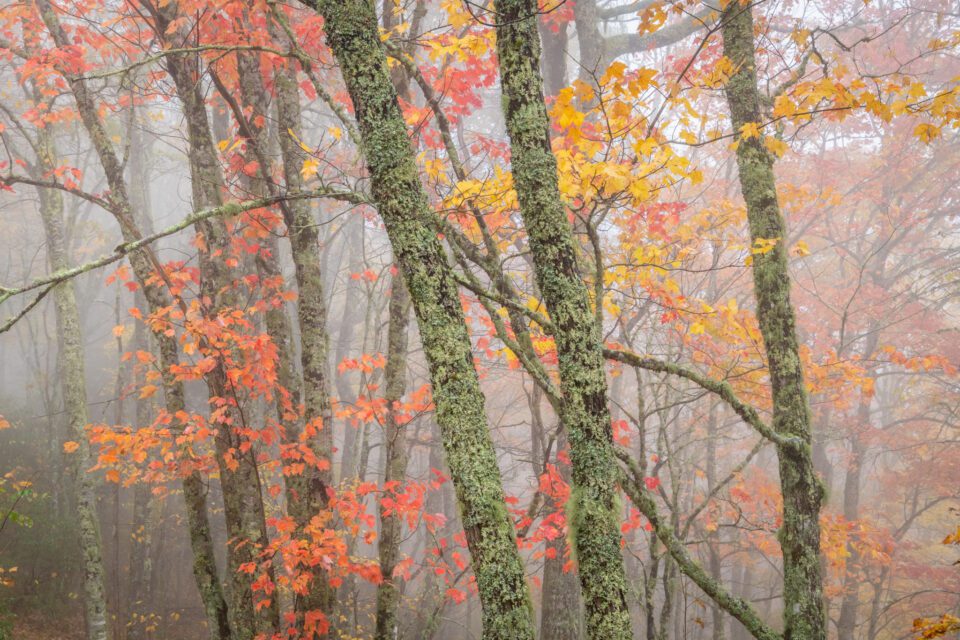 NIKON D850 + 24-70mm f/2.8 @ 55mm, ISO 800, 1/10, f/16.0
1. استخدم مظلة الجولف
أفضل مظلة كبيرة على طراز لعبة الجولف لالتقاط الصور تحت المطر مقارنة بالمظلات النموذجية الأصغر التي رأيتها وجربتها. مظلات الجولف كبيرة بما يكفي لتبقيك أنت ومعداتك جافة (بما في ذلك عدسة مقربة أكبر)، وتميل إلى أن تكون مصممة بشكل أفضل لتحمل بعض الرياح.
في الماضي، كنت أستخدم مشبكًا لربط المظلة بحامل ثلاثي الأرجل، لكنني تعلمت بالطريقة الصعبة أن أي نسيم يرسل اهتزازات في المظلة المفتوحة إلى أسفل إلى حامل ثلاثي الأرجل ويؤدي إلى تنعيم الصور عند العديد من سرعات الغالق الشائعة. هناك أيضًا خطر أن تؤدي هبوب رياح قوية إلى سقوط الحامل ثلاثي القوائم والعتاد الثمين الخاص بك بسرعة على الأرض – لا تسألني كيف عرفت :-).
أفضّل الآن إدخال عمود المظلة داخل سترتي ذات السحاب المحكم ووضع الجزء السفلي في حزامي أو حزام خصري، مما يوفر تثبيتًا ثابتًا للمظلة دون المشاكل المحتملة المتعلقة بتركيب حامل ثلاثي الأرجل. وفي أحيان أخرى، وجدت أنني أستطيع حمل المظلة بيد واحدة بينما أستمر في تشغيل الكاميرا باليد الأخرى، وفي بعض الأحيان كان معي شريك في التصوير يعمل كمساعد لحمل المظلة.


