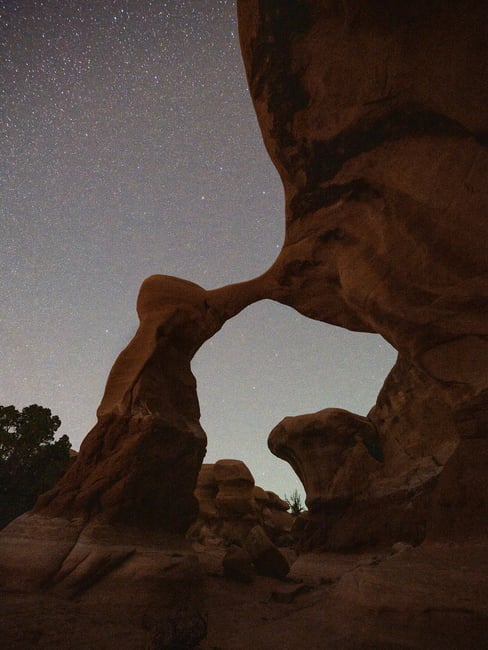
One Way to Take Better Light Painting Photos at Nightإذا سبق لك أن جربت الرسم بالضوء لتصوير درب التبانة، فربما واجهت بعض المشكلات المحبطة. ربما لم تتطابق درجة حرارة لون الضوء مع المشهد، أو أن الظلال والإبرازات تبدو مصطنعة بطريقة أو بأخرى. أو ربما حصلت على تأثير تسليط الضوء الذي لم يغطي مساحة واسعة بما فيه الكفاية.
يجب أن أعترف أنني لم أتوقع أن أكتب مقالاً عن الرسم بالضوء هذا العام. لقد واجهت محاولاتي السابقة دائمًا المشكلات التي ذكرتها للتو – وكانت النتيجة النهائية هي الصور التي تبدو مزيفة ومصطنعة، وتشتت الانتباه عن المشهد بدلاً من إضافته إليه. “اللوحة الضوئية” الوحيدة التي كنت سأرسمها بانتظام هي انتظار ظهور القمر وإلقاء الضوء على المناظر الطبيعية!
If you’ve ever tried light painting for Milky Way photography, you may have run into some frustrating issues. Maybe your light’s color temperature didn’t match the scene, or the shadows and highlights somehow looked artificial. Or, perhaps you got a spotlight effect that didn’t cover a wide enough area.
I have to admit that I didn’t expect to be writing an article about light painting this year. My past attempts with it have always run into the issues I just mentioned – with the end result being photos that looked fake and artificial, distracting from the scene rather than adding to it. The only “light painting” that I would do with any regularity was to wait for the moon to rise and illuminate the landscape!


